Time needed: 5 minutes
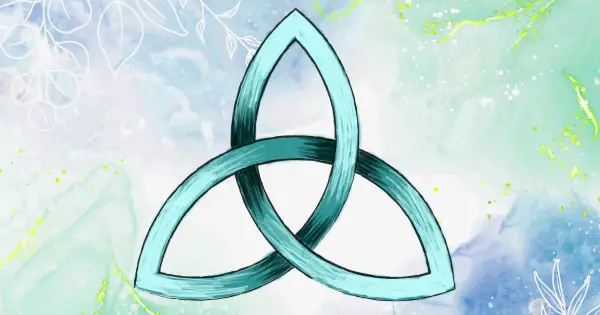
To know how to draw a triquetra, sometimes known as a trinity knot, you just need to follow some simple tips. You could just try it freehand but it would be difficult to get the proportions exactly right.
Instead, it’s better to use these steps to get a perfect triquetra every time. It involves a little geometry but don’t worry. This is not like the stuff you had to do at school.
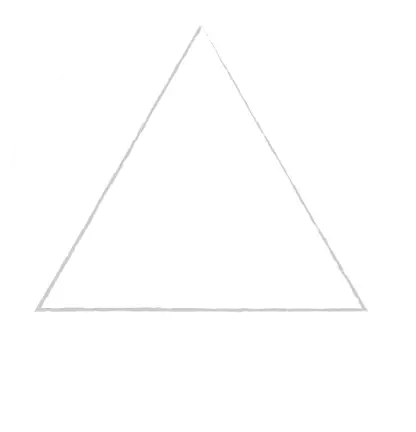
- Before you start to draw your triquetra, using a pencil, draw an equilateral triangle as a guide.
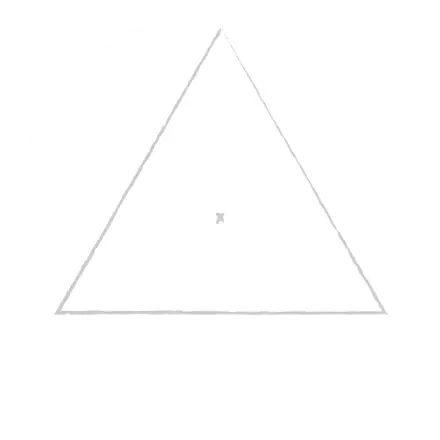
- Draw a cross in the centre of the circle as a guide and anchor point.
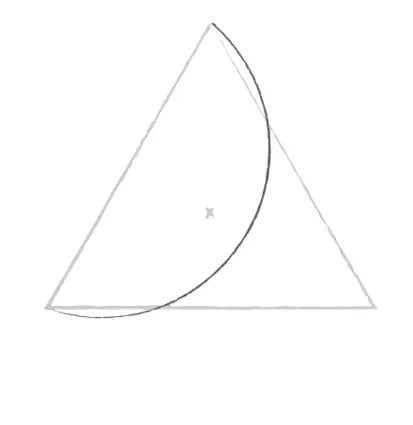
- Draw an arc from the top to the bottom left corner as the first step of the triquetra. Make sure the cross is inside the arc. You could use a compass or draw round a glass or any round object.
- Draw a second, same-sized arc from the bottom left to the bottom right corner.
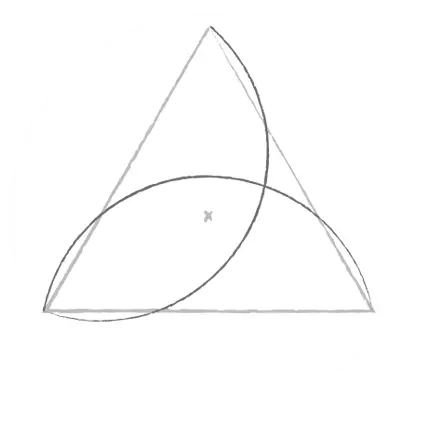
- Draw a third arc from the top to the bottom right corner. This gives you the triquetra outline.
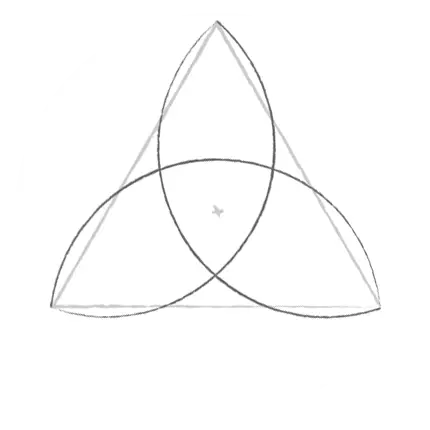
- Erase the triangle and cross guides and now you have a simple triquetra you can use as a base to add whatever details, colours or shading you wish.
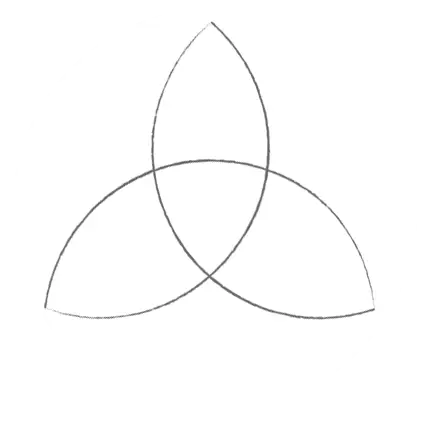
- Finally, add details, colours or shading of your choice.
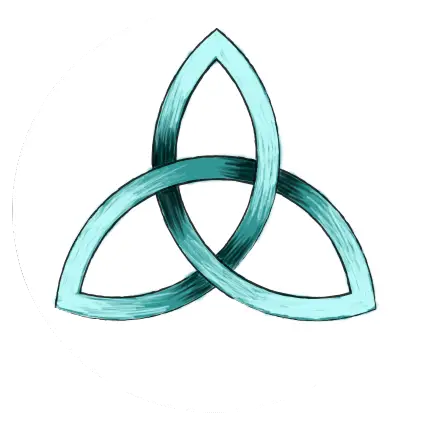
If you follow these simple steps you will soon be able to draw a perfect triquetra every time. With a little practice, you can then experiment with more complex designs or start to add more interesting backgrounds.
If you want more inspiration, click on the links below to see other designs and to see how the triquetra is used in Celtic jewellery.
This is a design that’s been around for thousands of years so it’s had plenty of time to develop.
Trinity knot or triquetra – popular design in Celtic jewellery
